
Heat Your Pan: Place a non-stick skillet or frying pan over medium heat. Once heated, lightly grease the pan with a bit of oil. This will help the pancakes cook evenly and prevent sticking.
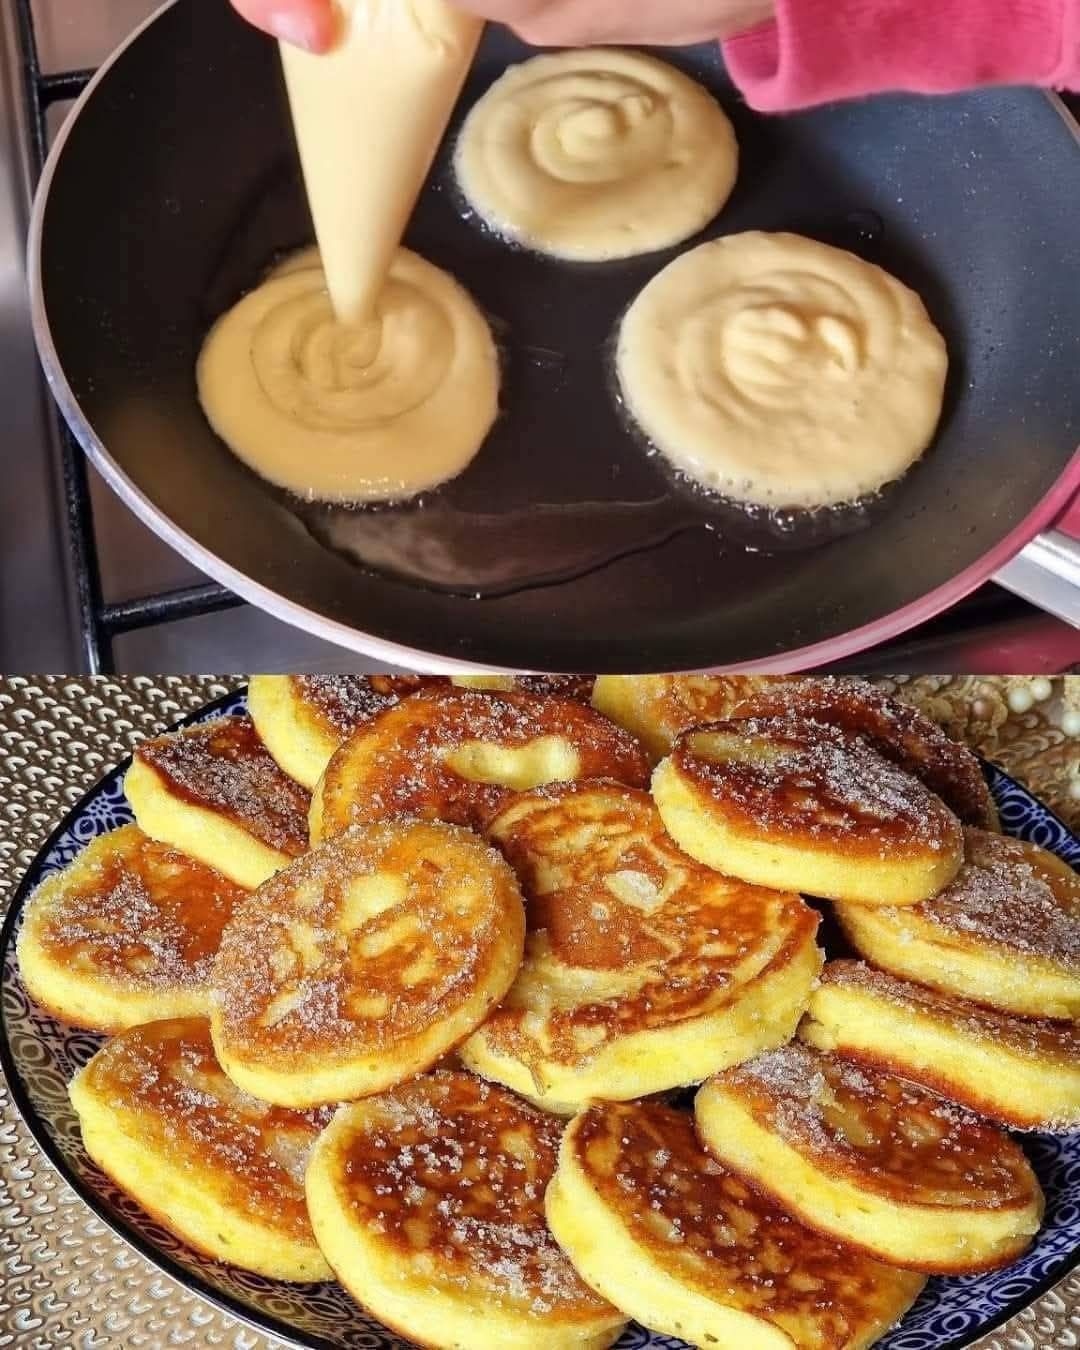
Pour the Batter: Using a ladle or measuring cup, pour a small amount of batter into the pan to form a pancake. You can choose to make them small or large depending on your preference—just keep in mind that smaller pancakes cook faster.
Watch for Bubbles: Cook the pancake until bubbles form on the surface and the edges begin to set, which usually takes about 2-3 minutes. This is an indication that it’s time to flip.
Flip and Finish Cooking: Carefully flip the pancake using a spatula and cook the other side until it turns golden brown, approximately 1-2 more minutes. Repeat this process with the remaining batter, adding more oil to the pan as necessary to keep things non-stick.
Serve:
Add Sweetness: Once the pancakes are cooked, sprinkle them lightly with caster sugar for an added touch of sweetness. This will enhance their flavor and give them a lovely finish.
Presentation: Serve the pancakes warm, stacked on a plate, and consider adding a few toppings for extra flair. Fresh fruits like strawberries, blueberries, or banana slices can add color and freshness. A drizzle of honey or maple syrup complements the pancakes perfectly, adding a delightful sweetness. You might even consider a dollop of whipped cream or yogurt for a rich, creamy contrast.
Experiment with Flavors: Feel free to experiment with different flavors! You can add chocolate chips, chopped nuts, or even spices like cinnamon or nutmeg directly into the batter for a unique twist.
Additional Tips:
Make Ahead: If you’re short on time, you can prepare the batter the night before. Store it in the refrigerator and give it a good stir before cooking. The flavors will develop nicely overnight!
Leftovers Storage: These pancakes are best enjoyed fresh but can be stored in an airtight container in the refrigerator for up to 2 days. Reheat them in a skillet or microwave for a quick breakfast on the go.
Freezing for Later: If you make a large batch, consider freezing the pancakes. Let them cool completely, then place them in a single layer on a baking sheet until frozen solid. Transfer them to a freezer bag or container for up to 2 months. To reheat, just pop them in the toaster or microwave.
Enjoy Your Pancakes!
These yogurt pancakes are a delightful way to start your day, providing a deliciously satisfying meal that feels indulgent but is quick and easy to make. Whether enjoyed plain or topped with your favorite ingredients, they are sure to become a go-to recipe in your kitchen. Grab your ingredients and enjoy the deliciousness of homemade pancakes without the need for an oven! Happy cooking!
ADVERTISEMENT

